Jellyfish rewiring

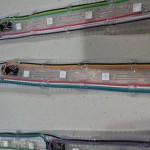
Check out all those beautiful, straight, smooth swaths of wire!  Gorgeous, right?  It took dozens of tedious hours to make.

One problem.  Data apparently goes through them at 2MHz, which means they’re basically turned into radio antennae – and since they’re all nice and parallel, there’s more “interference” than there is “signal”.

The poor umbrella flashes and flickers in a manner best described as “grand mal”, no matter what it’s supposed to do.  It’s time to rip out all that beautiful cabling and replace it with twisted-pair wire (and add terminating resistors).  Sigh.

First jellyfish panel

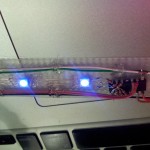
No more prototypes; this is the real thing.  Each jellyfish will have eight of these strips, with each segment individually controlled.  Yep, the soldering’s pretty ugly, but it works!

Second reactor complete

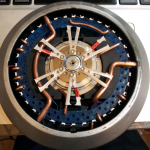
The second reactor’s internals are done, and I’ve added the spinny-bits to the motor’s drive hub.  Now all that’s left is a paint job!  We may end up re-working the insides of the first reactor, as we came up with some cleaner wiring and three-dimensional tricks for the transistor clusters.  The battery door actually closes on this reactor, and I really want that to work on the first reactor, too…

Bottles for reactor fuel

With some airbrushing, stencils, and “artificial distressing”, these emptied and cleaned CO2 bottles will make great little Helium-3 fuel canisters for our reactors.

First Jellyfish segment

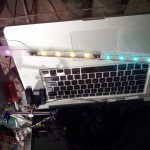
Just finished assembling the first segment prototype for the jellyfish! The good news: we can apparently run the WS2801 chips with 12v LED series, so we don’t have to buy (and solder) 150 transistors like we feared. Each umbrella will have 24 of these segments for a whopping 211,000mcd of light.

More parts

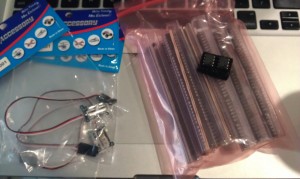
The LED drivers for the jellyfish arrived today, as did the new linear servos for the butterflies

Reactor standalone

The first reactor’s finally done, at least electronics-wise!

Butterfly beginnings

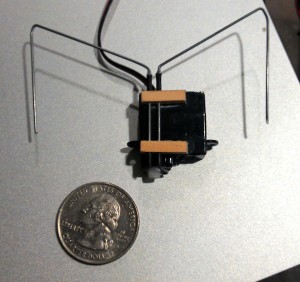
While waiting for the next batch of reactor (and jellyfish) parts, we’ve started working on the animatronic butterflies for the gown.  So far, it’s just a tentative framework.  Next step is to find springs for it.

Remember that bit about us being noobs?  Yeah.  When ordering 5v Arduino controllers to stick inside your shiny new gadgets, check to make sure your FTDI programming cable is also 5v – not the 3.3v ones from your last project.  Thankfully, a few more days waiting for the new cables won’t kill our timeline.  #LFMF

Whoops…

Reactor motor

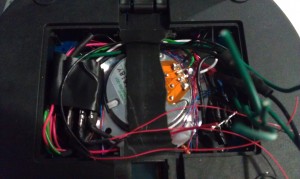
Well, the motor’s working (sort of).  Since the controller’s just pulsing the three coils in sequence with no regard for feedback or hall sensors, it jerks around instead of spinning.  Fortunately, that’s the look we’re going for!  It’s getting really packed in the push-light’s battery bay.